
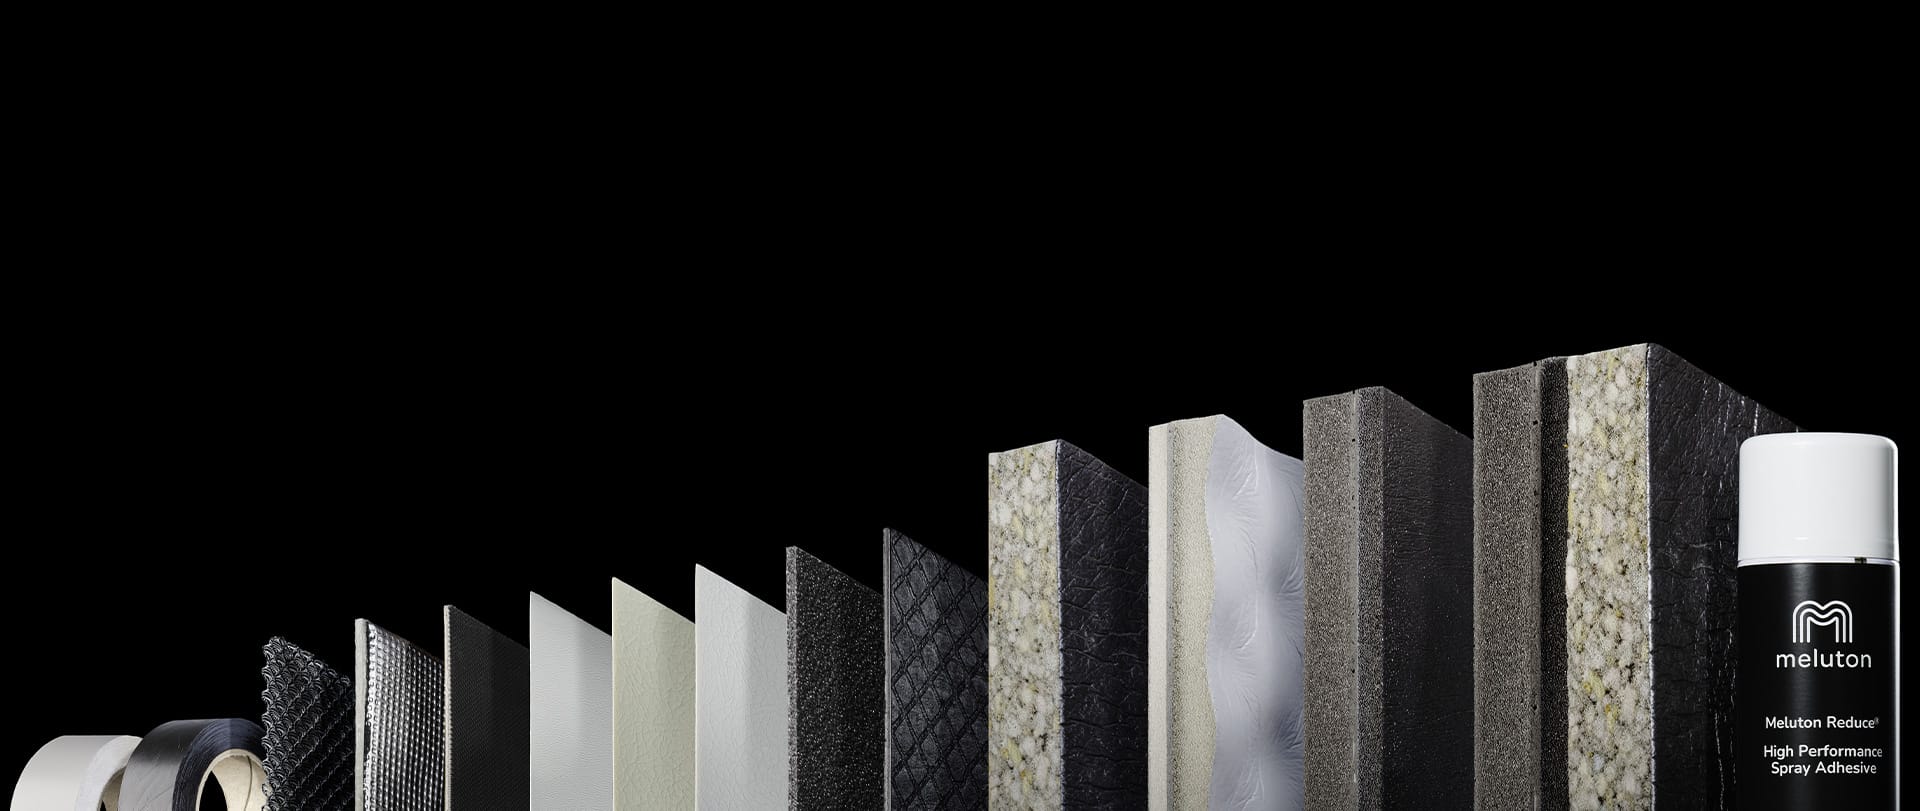
On this page, you will find installation instructions for the Meluton Reduce® product line of sound and thermal insulation materials. The Reduce® product line is specifically designed to meet the needs of boaters, but it can also be used in other applications where you want to reduce noise and heat generated by engines and machinery.
- Table of contents:
- Sound insulation materials
- Other materials
- Sound proofing the engine compartment
- Heat proofing the exhaust area
- Installing the upholstery
- Attaching the seat laminate
- Installer’s checklist
You can also download the installation instructions as a .pdf file here.
You can also watch the installation instructions on video:
Sound insulation materials
Meluton Reduce® Core Products
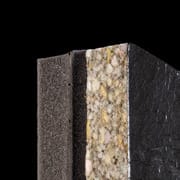
Meluton Reduce® Pro+ PUR A8
Combining the Basic and the Pro model, the Pro+ provides you with the best noise insulation on the market. Use it on surfaces near the source of the sound whenever you have 65mm of installation space. Attach the materials together with the self adhesive surface and strenghten the attachment with Sikaflex.
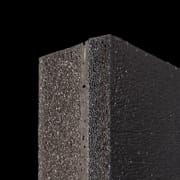
Meluton Reduce® Pro A8
Professional level noise insulation and fire protection. Use the Reduce® Pro on surfaces near the source of the sound whenever you have 35mm of installation space.
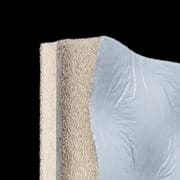
Meluton Reduce® Premium Eggbox
Premium level noise insulation, use the Reduce® Premium on surfaces near the source of the sound whenever you have 28mm of installation space.
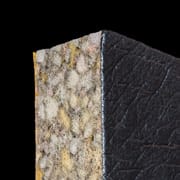
Meluton Reduce® Basic PUR
Use the Reduce® Basic on surfaces distant to the source of the sound to dampen the echo.
Other materials
Meluton Reduce® Additional Products
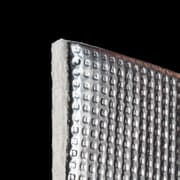
Meluton Reduce® Heat
Thermal insulation designed to protect sound insulation materials from the heat of turbochargers and exhaust risers.

Meluton Reduce® Bitumen
Sound insulation material designed for use in moist environments outside the boat. Easy to mould to different surface shapes.
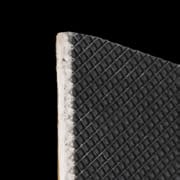
Meluton Reduce® Heavy Layer
Sound insulation for moist environments inside the boat, without the characteristic smell of bitumen.
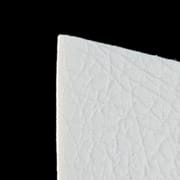
Meluton Reduce® Pelon Marina
Upholstery fabric that also functions as condensation insulation. Used as original equipment material in boats such as Targa.
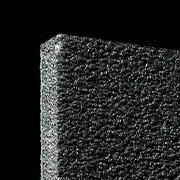
Meluton Reduce® Thermal
Thermal insulation used to regulate cabin temperature.
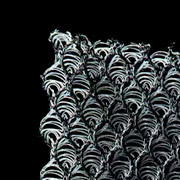
Meluton Reduce® Moist 3D
Insulation material that prevents moisture buildup, for example in boat mattresses.
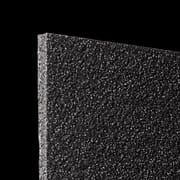
Meluton Reduce® Seat Laminate
Seat covering material that does not absorb water. Particularly suitable for aluminium boats, which can become slippery when wet.
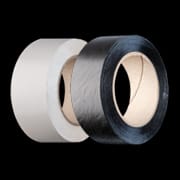
Meluton Reduce® Tape
Sealing tape used to finalize noise insulation installations. Made from the same material as the surface layer of the insulation sheets.
Meluton Reduce® Spray Glue
Professional-grade, easy-to-use adhesive designed for installing multilayer noise insulation materials in demanding conditions.
Sound proofing the engine copartment



Step 1: Measurements & Fitting
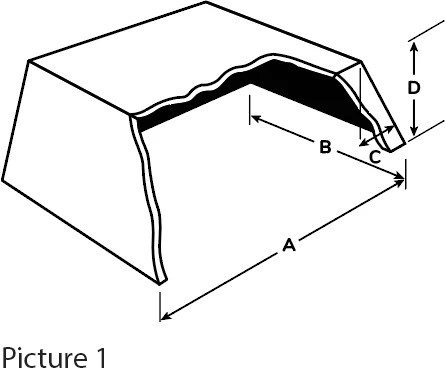
Measure the inside dimensions of the engine compartment (picture 1). Create the blueprints or draw, for example, cardboard models. Pay particular attention to ensure that the insulation will be as seamless as possible. The insulation should retain its nominal thickness in the corners and folds.
For areas connected to an interior and cabin air, like bilges, Reduce® Heavy Layer is recommended as an odourless noise barrier material. Reduce® Bitumen has its nominal odour and can be used in similar applications if the position is located outside or ventilated towards outdoors.
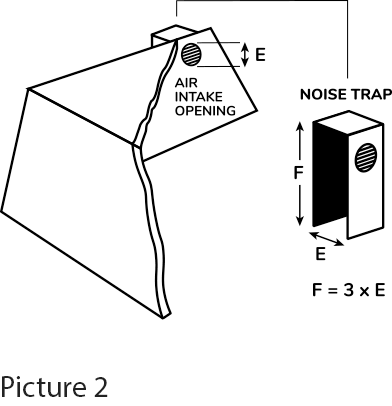
A noise trap can be built around the air intake (picture 2). The noise trap should not interfere with air circulation and, thus, cooling. The size of the noise trap depends on the diameter of the air intake. If there is enough space, it is possible to create the noise trap inside the engine cover.
When you want the best possible soundproofing and there is enough space, you can notably increase soundproofing by installing another layer of the Meluton Reduce® Basic PUR. Combining this with the Meluton Reduce® Pro A8 creates the ultimate noise insulation system.
When installed in this way, the heavier Reduce® Pro A8 is attached to the hard frame, e.g. engine cover, and the lighter Reduce® Basic PUR is attached to its surface, closer to the source of sound. The highest quality boat manufacturers, such as Targa of Botnia Marin, use this Meluton Reduce® Pro+ solution.
Finally, calculate the required amount of insulation.
Step 2: Cleaning the Surfaces & Cutting the Insulation Material
Carefully clean the surface to which you will attach the insulation. To achieve good adhesion, it is important that there are no impurities, such as grease, on the surface. Use a isopropyl alcohol to
clean the surface thoroughly.
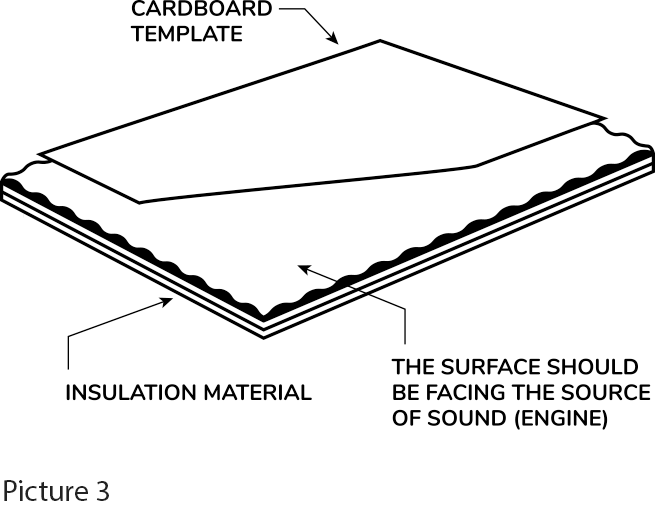
Remember that the surface of the insulation should face the source of sound (Picture 3). You can recognize the surface of the insulation by its color; Reduce® Basic PUR and Reduce® Pro A8 have a black surface, while Reduce® Premium Eggbox has a white surface.
Place a cardboard model (template) on top of the insulating board or sketch the shape of the piece you want with a pencil. Cutting can easily be done with a sharp carpet knife. Press the insulation together as you cut.
Stock up on spare blades, as they become dull due to the mineral layer of the material. Use a flat surface for cutting. Long and even cuts ensure a smooth cutting surface.
Step 3: Mounting the Bolts
If you are using bolts, attach them to the engine cover now. Bolts should be placed in the corners and in the middle. You can also improve the fastening by using perforated plates or strips. This makes it easier to attach the product to, for example, the ceiling.
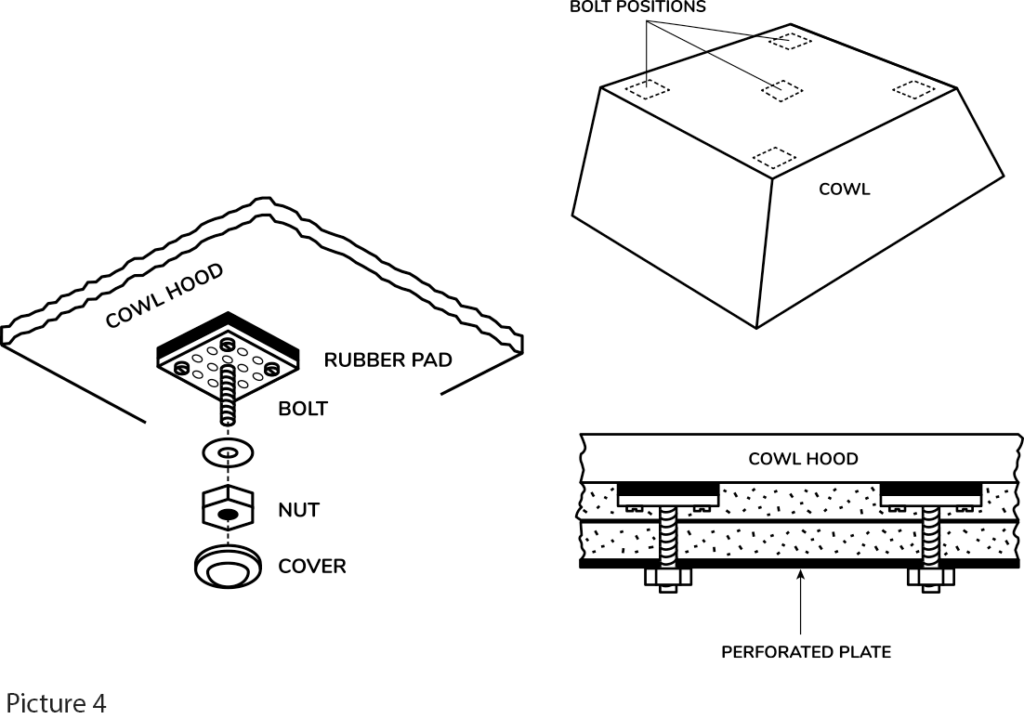
Do not bolt directly through the roofing material. The use of rubber pads is also recommended (Picture 4).
Step 4: Adhering
Before applying the adhesive, try to fit all the pieces together.
Shake the can well before using.
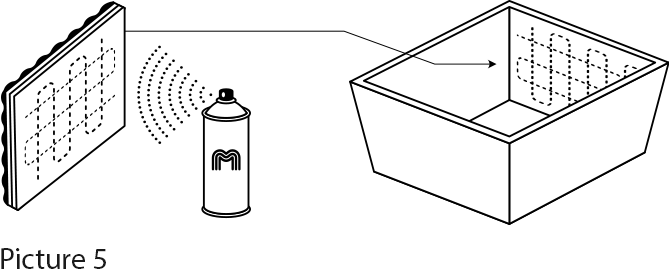
Spray about 10cm – 20cm’(4” – 8“) away at an 90 angle to the surface, applying a uniform even coat of adhesive to obtain 80% to 100% coverage of the surface. If necessary, spray another coat of adhesive in areas that appear to need more adhesive.Spray surfaces vertically and horizontally. (picture 5)
Allow 2 – 3 minutes for adhesive to tack offuntil no adhesive transfers to the knuckle when touched.
Adhere surfaces and press together withadequate pressure. Allow 24 hours for the adhesive to fully cure.
To prevent nozzle from blocking, turn can upside down press nozzle until spray is clear of adhesive. If nozzle becomes blocked, the adhesive can be removed with a solvent such as lacquer thinner or acetone.
You get the best end result by finishing the work with the Meluton Reduce® Seal Tape, which protects the insulation from moisture and impurities. The tape is installed on the edge of the sheet.
Heat proofing the exhaust area
Attaching The Reduce® Heat
After you have succesfully installed the sound insulation materials, it is time to heatproof the areas around the exhaust pipe. To do this, use the Meluton Reduce® Heat to cover the areas about to get hot.
Remove the protective film from the self adhesive surface of the material with the help of a carpet knife or a regular sharp knife.
Remember to apply the foil side towards the source of the heat. Leave an air gap between the source of the heat and the foil surface of the Reduce® Heat cover.
The Reduce® Heat cover is made from unabsorbing glass fibre so make sure you wear gloves while handling the material.
Installing the upholstery
Attaching The Reduce® Pelon Marina Upholstery
The Reduce® Pelon Marina upholstery can be installed mechanically or by using a carpet adhesive resistant to PVC and temperature variations. We recommend using adhesives such as Bostik Contact 31, Sikaflex 221 or Sikabond 590.
Make sure you are not applying too much of the adhesive as it may result in an unpleasing finish. Just a narrow line of adhesive needed which you should spread evenly with a brush or a spatula (see picture 5).
Attaching the seat laminate
Attaching The Reduce® Seat Laminate
To reduce discomfort, use Reduce® Seat Laminate to make your seating warmer and less slippery.
Before applying Reduce® Seat Laminate, remove any existing materials, including small bits and pieces. Heating the surface with a heat gun can facilitate the detachment process. When using a heat gun, apply the heat to the area where the laminate is attached, not directly on the material itself, to avoid damage.
Ensure the surface is thoroughly cleaned with acetone or spirit before attaching the Reduce® Seat Laminate.
Use masking tape to mark out the area where you wish to apply the new laminate. Measure the area with a ruler and cut your material accordingly. Use a sharp knife or box cutter for precision, and it is advisable to cut the material on top of plywood or a few layers of cardboard for stability.
Verify that your cut piece corresponds to the area marked with the tape. Once confirmed, you’re ready to proceed. Reduce® Seat Laminate has a self-adhesive surface, allowing you to apply the material directly to the desired location. Before attaching, use a needle or knife to carefully remove the white plastic liner from the adhesive surface.
Begin attaching the material from one side and then remove the marking tape. Continue by attaching the rest of the material, pressing it down evenly to achieve a sleek finish.
Installer’s checklist
Read the instructions carefully and plan your work well.
- Take measures of the insulation areas.
- Carve cutting templates shaped like the areas to be insulated. Cardboard is a good material for this.
- Cut all the insulation materials with the help of the cardboard templates and a sharp knife.
- Fit the pieces and carefully clean the surface before applying the adhesive.
- Use high-quality adhesive.
- Do not use the adhesive excessively.
- Do not apply the adhesive directly on the surface of the insulation board.
- Do not use any of the Reduce® Series Core Products on wet areas. Use always Reduce® Bitumen for the bilge and the Reduce® Heavy Layer for interiors that might get wet.
- Do not leave gaps or areas uninsulated.
- Do not block the air intake openings.
- Use the Reduce® Seal Tape to finalize corners and sides that are not protected.